Introduction to Crochet Fingerless Gloves
Crochet fingerless gloves are a stylish and practical accessory. They keep your hands warm while leaving your fingers free. This makes them perfect for tasks like typing or texting. For those new to crochet, creating fingerless gloves is a great starter project. They require less yarn and time than full-fledged gloves or mittens. Plus, they offer a chance to practice basic stitches and techniques. These gloves can also serve as thoughtful gifts or can be sold at craft fairs.
In this guide, we will cover all you need to start making your own crochet fingerless gloves patterns. We will look at the best yarn and tools to use. We’ll walk through basic crochet techniques perfect for beginners. And to get you started, we’ll provide a step-by-step guide. Then, we will explore simple patterns suitable for those just starting out. We will also talk about how to add decorations like beads or borders. Finally, we’ll wrap up with how to care for your handmade gloves to keep them looking great.
Selecting the Right Yarn and Tools
Choosing the right yarn and tools is key to a successful crochet fingerless gloves pattern. The yarn you pick can impact the softness, warmth, and overall look of your gloves. For beginners, acrylic yarn is a good starting point. It’s affordable, easy to work with, and machine washable. Wool yarn is another excellent choice due to its warmth and natural stretch. When selecting yarn, also consider the color. Bright colors or variegated yarns can add a fun twist to your gloves.
The right tools will make crocheting easier. You will need a crochet hook. Size matters here. A smaller hook will make tighter stitches, while a larger hook will result in a looser weave. As a beginner, a medium-size hook, such as a size H/8 (5mm), is a good size to start with because it’s easy to handle. Additionally, you’ll need scissors for cutting yarn, a yarn needle for weaving in ends, and stitch markers can be helpful to mark your progress.
Remember, the yarn’s weight should match the recommended size on your crochet hook; this ensures your stitches have the right tension. For fingerless gloves, a lightweight or medium-weight yarn is best. It’s warm yet not too bulky, allowing for ease of finger movement. When shopping for yarn, touch and feel the texture; make sure it’s soft since it will be against the skin.
When you’ve got your yarn and tools ready, you’re all set to begin crocheting your very own fingerless gloves.
Basic Crochet Techniques for Fingerless Gloves
Before you start crafting your crochet fingerless gloves pattern, mastering some basic crochet techniques is essential. These skills are the foundation for most crochet projects and will ensure that your gloves look neat and professional.
Chain Stitch (ch)
The chain stitch is the building block of crochet. You’ll start almost every pattern with this stitch. To make a chain stitch, make a loop with your yarn, insert your hook, yarn over (yo), and pull through.
Single Crochet (sc)
Single crochet is one of the simplest stitches. Insert the hook into a stitch, yarn over, pull through, yarn over again, and pull through both loops on the hook. This stitch gives you a tight and sturdy fabric.
Double Crochet (dc)
For a taller stitch, use the double crochet. Yarn over, insert the hook into the stitch, yarn over, pull through, yarn over, pull through two loops, yarn over again, and pull through the remaining two loops.
Slip Stitch (sl st)
The slip stitch is used to join sections together or to work in the round, which you need for fingerless gloves. Insert the hook, yarn over, pull through both the stitch and the loop on your hook.
Crocheting in the Round
Crocheting in the round creates a seamless look. To do this, join your chain stitches into a circle with a slip stitch. Then, work your stitches into the center of the circle.
Practice these stitches until you’re comfortable. With these basic techniques down, you’ll find it easier to follow a crochet fingerless gloves pattern and ensure a clean, finished product. Remember, crochet is all about tension, so keep your stitches consistent for the best results.
Step-by-Step Guide to Crochet Fingerless Gloves
Creating crochet fingerless gloves is a fun and rewarding project. Here’s an easy guide to help you start.
Select Your Pattern
First, choose a simple crochet fingerless gloves pattern. Look for ones designed for beginners.
Make a Test Swatch
Before you dive in, crochet a small test swatch. This checks your gauge and helps prevent an ill fit.
Begin Your Project
Start with a slipknot and chain the number of stitches the pattern calls for.
Work the Cuff
The cuff is usually worked in rows. Use the single crochet stitch to create a stretchy band.
Create the Body
After the cuff, start crocheting in the round. This forms the hand portion of the gloves.
Shape for the Thumb
You will need to make space for the thumb. Follow the pattern to add increases or skip stitches.
Work the Upper Part
Continue crocheting in the round. Stop when you reach the desired height for your fingerless gloves.
Finish the Thumb Hole
Add a simple edge around the thumb hole. Usually, this involves a round of slip stitches.
Weave in Ends
With a yarn needle, weave in any loose ends. This will tidy up your work.
Remember to follow the pattern closely and refer to the basic techniques you’ve learned. In no time, you’ll have a pair of crochet fingerless gloves to wear or share. Happy crocheting!
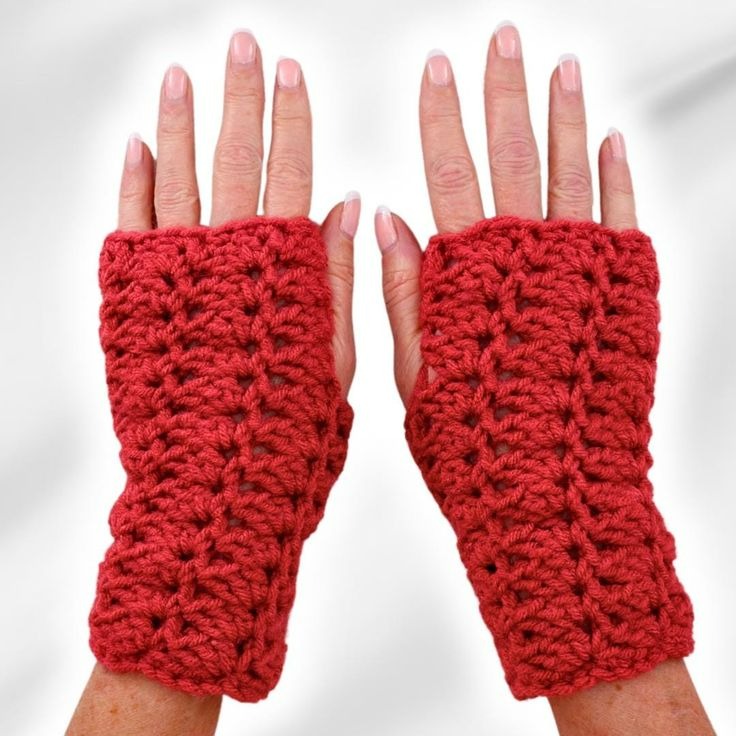
Patterns for Beginners
When starting to crochet fingerless gloves, simple patterns are the way to go. These patterns focus on basic stitches and straightforward construction methods, making them ideal for beginners to practice and perfect their technique. Here are a few patterns that are easy to follow:
- Basic Rectangle Pattern: Start by crocheting a rectangle and then seam it into a tube, leaving a gap for the thumb.
- Ribbed Cuff Pattern: Use the single crochet stitch in the back loops only to create a ribbed cuff that stretches for a snug fit.
- Shells and V-Stitches Pattern: This introduces a decorative element while still being simple enough for beginners to master. You’ll learn how to create shell patterns and basic v-stitches.
- Chunky Yarn Pattern: With chunky yarn, your gloves will work up quickly, and the stitches will be more visible, which is great for practice.
Each pattern allows for variation. You can adjust the size by changing the number of stitches in your starting chain. You can also play with different colors and textures of yarn. For added warmth, double up on yarn strands or choose a wool mix. Always remember to read through the entire pattern before beginning your gloves to understand the steps ahead. With a bit of patience and practice, you will soon be whipping up pairs of crochet fingerless gloves to wear, gift, or even sell.
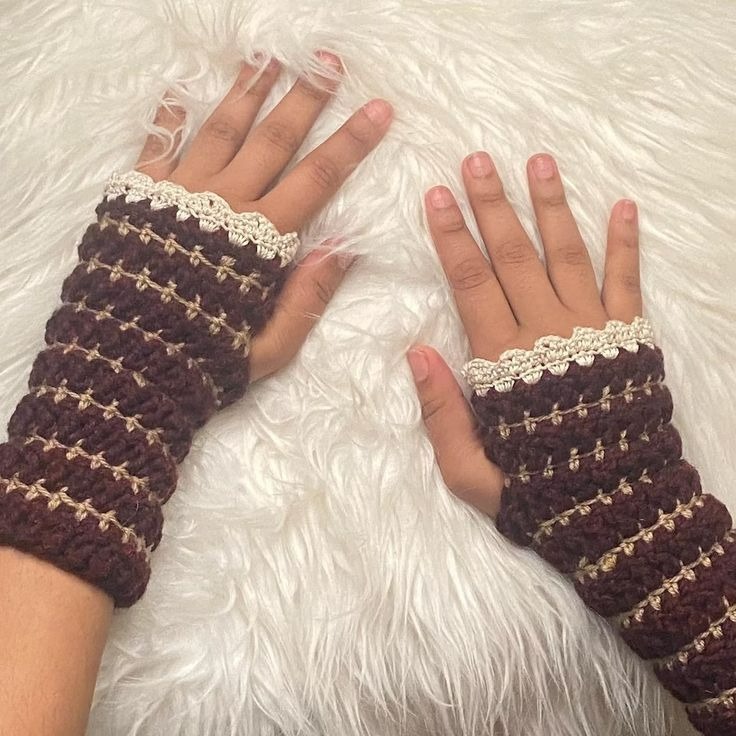
Adding Embellishments and Customizations
Once you’ve mastered the basics of a crochet fingerless gloves pattern, you can add flair. Customizing your gloves is not only fun, it’s an expression of your unique style. Here are some simple ways to personalize your gloves:
Choose Fun Colors and Yarn Textures
- Mix Colors: Combine different colors in stripes or blocks for a bold look.
- Textured Yarns: Try yarns with sparkle or puff for a playful touch.
Add Decorative Stitches
- Picot Edging: A series of small loops for a delicate border.
- Shell Stitches: Create scalloped edges that look intricate but are easy to do.
Embroider Accents
- Cross Stitch: Add crosses over crochet stitches to form designs.
- French Knots: Make small knots for a raised, polka dot effect.
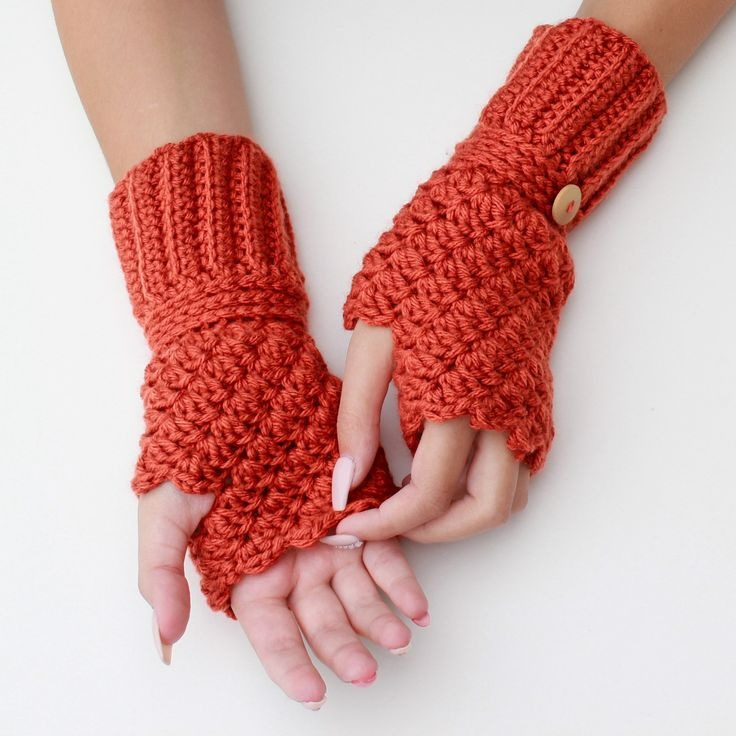
Attach Beads or Buttons
- Sew on Beads: Choose beads that complement your yarn and sew them on.
- Decorative Buttons: Fasten buttons near the wrist or on the back of the hand.
Crochet Appliqués
- Flowers: A small crocheted flower can add a feminine touch.
- Stars: Stars or other shapes give a playful character to your gloves.
Remember, when adding embellishments, it’s important to ensure they’re secure. Beads or buttons should be firmly attached so they won’t fall off with wear. Keep customizations functional too. You want to enjoy wearing your gloves without any discomfort. With these tips, your crochet fingerless gloves will stand out and reflect your personal flair.
Finishing Touches: Edging and Thumb Holes
Once you have the main parts of your crochet fingerless gloves pattern completed, it’s time to add the finishing touches that will make your gloves look refined and complete. Finishing touches involve working on the edging and creating the thumb holes, which are essential for both function and style. Here’s how you can finish your gloves smoothly.
Edging Your Gloves
After completing the upper part of your gloves, edging is the next step. Edging gives your gloves a polished look and helps prevent them from unraveling. A simple slip stitch edging or a single crochet border is ideal for beginners. To do this:
- Slip stitch: Work a slip stitch all around the top edge of your gloves.
- Single crochet: Make a single crochet stitch around the edge for a thicker border.
This not only secures the edges but also adds a neat, finished appearance.
Crafting the Thumb Hole
The thumb hole is a key feature in any crochet fingerless gloves pattern. Carefully creating this space ensures the gloves will fit comfortably.
- Follow the pattern: Your chosen pattern should instruct you on how to leave space for the thumb.
- Reinforce edges: Work slip stitches or single crochets around the thumb hole for reinforcement.
This step creates a durable and comfortable opening for the thumb, adding to the functionality of the gloves.
With these finishing touches applied, your crochet fingerless gloves are nearly ready to adorn your hands or be presented as a thoughtful handmade gift. Take pride in the personalized touch you’ve given to your project. Remember, the key is to follow the directions closely, and don’t rush the finishing details that add character and durability to your gloves.
Troubleshooting Common Crochet Issues
When you start your journey with a crochet fingerless gloves pattern, you may encounter some typical problems. Don’t let these discourage you; they are common and can be easily fixed with a few tips:
- Loose Stitches: If your stitches are too loose, try using a smaller hook or tighten your tension.
- Tight Stitches: Conversely, if stitches are too tight, use a larger hook or loosen your grip.
- Inconsistent Tension: Practice making stitches with even tension. This comes with time and repetition.
- Joining Rounds: Make sure to use a stitch marker to keep your place when working in rounds. This helps to prevent twisting.
- Counting Mistakes: Count your stitches regularly to avoid increasing or decreasing accidentally.
- Dropped Stitches: If you drop a stitch, use your hook to pull it back through the missed loops.
- Troubles with Thumb Hole: Ensure you follow the pattern carefully when creating the thumb space. Count stitches diligently in this section.
Remember, the more you crochet, the better you become. Every mistake is a chance to learn. If you’re stuck, don’t hesitate to look back at simpler stitches or consult other crocheters for help. With practice, solving these issues will become second nature, and your crochet fingerless gloves will look stunning.
Caring for Your Handmade Fingerless Gloves
After investing time and effort into crafting your crochet fingerless gloves, proper care is crucial. This ensures they stay in prime condition. Here are some care tips:
- Wash Gently: Hand wash your gloves with mild detergent in cool water. Avoid wringing them out.
- Dry Properly: Lay the gloves flat on a towel to dry. Keep them away from direct heat or sunlight.
- Avoid Stretching: When wet, glove fibers are more elastic. Handle them gently to maintain shape.
- Storage: Store your gloves in a cool, dry place. Fold them neatly or keep them flat.
- Pilling Maintenance: If your gloves start to pill, use a fabric shaver or scissors to remove the pills.
- Freshen Up: Occasionally air out your gloves if they aren’t soiled, to freshen them up without washing.
By following these care steps, your crochet fingerless gloves will retain their comfort and style. Always read the yarn label for specific care instructions. Different fibers may need different care methods. Treat your gloves well, and they’ll keep your hands cozy for a long time.