Introduction to Fingerless Gloves Knitting
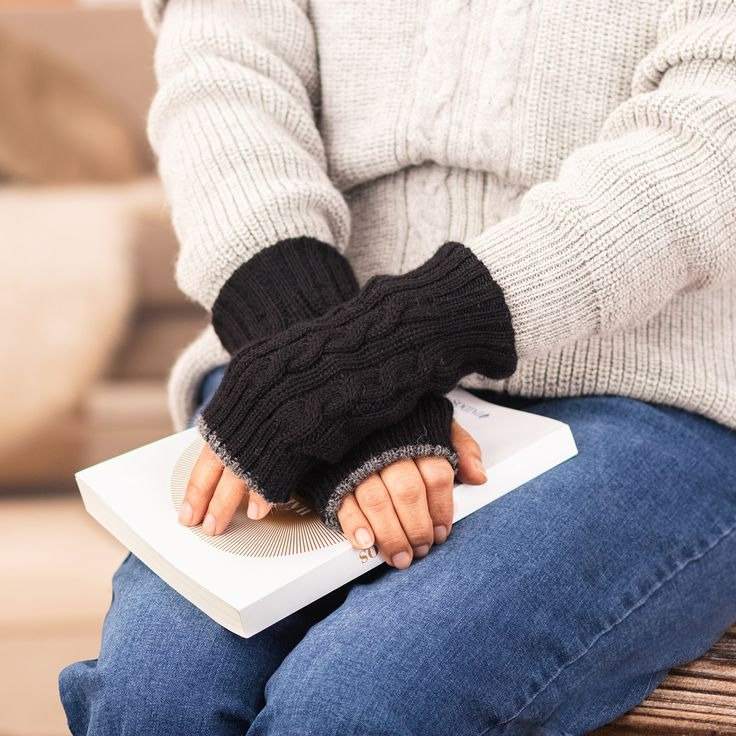
Knitting fingerless gloves is a popular craft project. These gloves are practical, stylish, and perfect for chilly days. They keep your hands warm while leaving your fingers free. This is vital for texting or typing. Fingerless gloves come in many shapes and styles. Whether long, short, with a thumb gusset, or without, they serve similar functions. Many prefer them to full-fingered gloves for indoor use. They are also great as a fashion accessory.
Knitters find these gloves a satisfying and quick project. It’s ideal for trying new techniques or using up leftover yarn. In learning how to knit fingerless gloves, you will enhance your knitting skills. You’ll practice techniques like casting on, knitting in the round, and ribbing. Once you master the basics, you can add unique touches. Customizations like colorwork, cables, or lace make your gloves one-of-a-kind.
If you are new to knitting or looking to expand your skills, this project is for you. With patience and practice, you can create beautiful, custom gloves. Let’s start your journey into the world of fingerless gloves knitting.
Essential Materials & Tools for Knitting Fingerless Gloves
To start knitting fingerless gloves, you’ll need some essential materials and tools. Choosing the right supplies can make your knitting experience smoother and more enjoyable. Here’s a rundown of what you’ll need:
Yarn
The foundation of any knitting project is the yarn. For fingerless gloves, you want a yarn that is both warm and soft. Wool or wool blends are popular choices, but cotton or acrylic can work for those with wool sensitivities. Pick a yarn weight appropriate for your pattern, usually fingering to worsted weight.
Knitting Needles
Needles are crucial in the knitting process. The size of the needles determines the size of your stitches. For fingerless gloves, small-sized needles (US size 2 to 6) often work best. You can choose between double-pointed needles, circular needles, or flat needles, depending on your comfort level.
Stitch Markers
Stitch markers help you keep track of your pattern. They mark the beginning of a round or specific pattern sections. They are especially helpful when creating thumb gussets or when working intricate designs.
Tapestry Needle
You will need a tapestry needle to weave in the ends of your yarn once your gloves are complete. It’s a simple tool but indispensable for giving your project a finished look.
Scissors
A pair of sharp scissors is necessary for cutting your yarn. Always keep them handy to snip ends when you finish a color or when you’re all done.
Measuring Tape
Measuring your hand and the gloves during the process ensures a good fit. A flexible measuring tape is best for this purpose.
Gathering these materials and tools before you begin is key to a smooth knitting experience. With them at your disposal, you’re ready to start crafting your custom fingerless gloves.
Basic Knitting Techniques for Fingerless Gloves
To start your fingerless gloves, there are a few basic knitting techniques to master. These form the building blocks of your project and ensure a neat, professional finish.
Casting On
Casting on is the first step in any knitting project. It involves creating the initial loops on a needle. For fingerless gloves, start with a method like the long-tail cast-on. It provides a stretchy edge, perfect for your gloves’ cuff.
The Knit Stitch
The knit stitch is a fundamental technique. It’s simple and used in most knitting projects. For gloves, knit stitches create a smooth, stretchy fabric. They are essential for both the body and the cuffs of your gloves.
Purling
Purling is the knit stitch’s reverse and equally important. It can be used to create ribbing or a varied texture. Alternating knit and purl stitches will give you a ribbed pattern. This helps ensure a snug fit around the wrists.
Knitting in the Round
Fingerless gloves are often knit in the round to avoid seams. This technique involves knitting with circular or double-pointed needles. It creates a tube of fabric, ideal for the cylindrical shape of gloves.
Increasing
To make room for your thumb, you’ll need to increase stitches in a specific area. This entails adding extra stitches to your needle as you work a row. It is a crucial skill for shaping your gloves properly.
Binding Off
Binding off, or casting off, is how you finish your gloves. It secures the last row of stitches so your work won’t unravel. For gloves, it’s important to bind off loosely. Too tight, and you’ll restrict the hand’s movement.
Master these basic knitting techniques, and you’re on your way to creating beautiful fingerless gloves. It might take practice, but stick with it. With these skills, you can tackle your ‘how to knit fingerless gloves’ project with confidence.
Pattern Selection for Fingerless Gloves
Choosing the right pattern is key to knitting fingerless gloves. Patterns vary in complexity and style. Beginners may start with a simple stockinette or ribbed pattern. These are easy to follow and quick to finish. More experienced knitters might choose patterns with cables, lace, or colorwork. These add texture and visual interest to the gloves.
Look for a pattern that fits your skill level and style preferences. Some patterns have detailed instructions for a thumb gusset. Others may be more basic and leave out the thumb portion. Consider fingerless gloves patterns that incorporate features you want to learn. This could range from learning new stitch patterns to trying out shaping techniques.
Remember to pick a pattern that complements the yarn and needles you have. The pattern will specify the weight of yarn and size of needles. Make sure they match your materials to ensure the right gauge. Gauge is the number of stitches per inch and is critical for proper fitting gloves.
Lastly, think about the gloves’ use. Do you want them for warmth or as a fashion statement? This will guide your pattern selection. Longer gloves provide more coverage and warmth. Shorter ones might be more suitable for indoor use or as an accessory.
Choose a pattern thoughtfully and it will set you up for a satisfying knitting project. Happy knitting!
Step-by-Step Guide to Knitting Fingerless Gloves
Ready to start your fingerless gloves? Here’s a simple step-by-step guide to get you knitting in no time:
Step 1: Choose a Pattern
Select a pattern that matches your skill level and style. Make sure it complements your yarn and needles. Easy patterns work great for beginners while advanced knitters can pick intricate designs.
Step 2: Gather Your Materials and Tools
Collect all the materials and tools listed earlier. This includes yarn, the right size knitting needles, stitch markers, tapestry needle, scissors, and a measuring tape. Having everything at hand will make the process smoother.
Step 3: Cast On
Begin by casting on the required number of stitches. Use a stretchy cast-on method like the long-tail for comfort around the wrist.
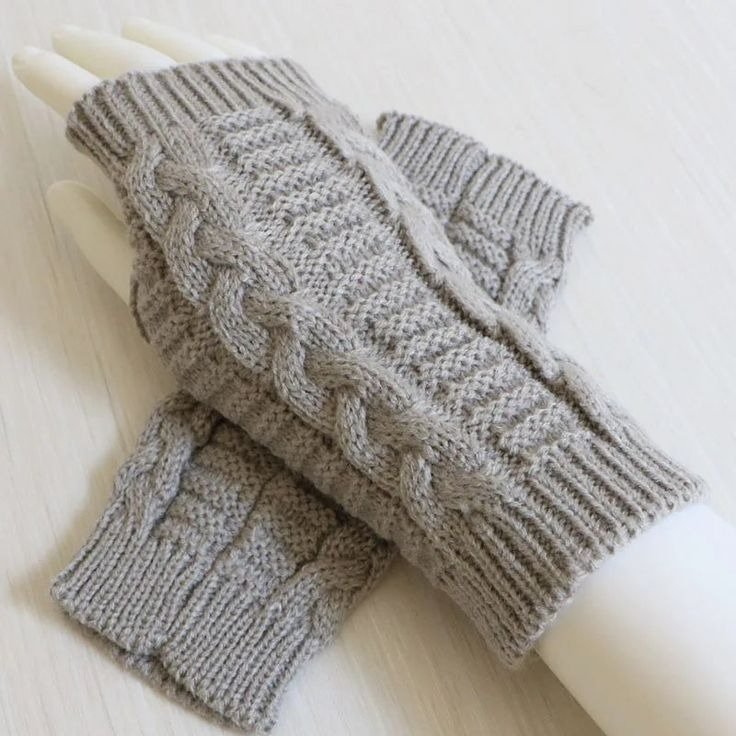
Step 4: Knit the Cuff
Start knitting in your chosen stitch pattern to create the cuff. Ribbed cuffs from knit and purl stitches offer a snug fit.
Step 5: Create the Hand Portion
Continue knitting upwards from the cuff for the hand portion. Add texture or follow your pattern to reach the desired length before the thumb.
Step 6: Thumb Increases
Work increases where your thumb will go. Place stitch markers if needed to mark increase points. Follow your pattern carefully for proper shaping.
Step 7: Finish the Thumb Opening
Once the thumb space is large enough, continue knitting around it. You’ll return to the thumb later or leave it open, depending on the pattern.
Step 8: Bind Off the Hand
When the glove reaches the desired length, bind off loosely. This ensures a comfortable edge that’s not too tight.
Step 9: Knit the Thumb (If Required)
If your pattern includes a thumb, knit it in rounds. Use stitch markers to help with beginning new rounds.
Step 10: Weave in Ends
Use your tapestry needle to weave in any loose ends. This gives your gloves a neat finish.
Step 11: Repeat for the Second Glove
Follow the same steps to create your second glove. Make sure it’s a matching pair!
Remember that practice makes perfect. Don’t be discouraged by mistakes. Knitting takes time to master, so be patient and enjoy the process. Happy knitting!
Adding Embellishments and Customizations
Once you’ve mastered the basic steps on how to knit fingerless gloves, it’s time to add personality. Embellishing and customizing your creations can transform them into truly unique pieces. Here’s how you can elevate your fingerless gloves:
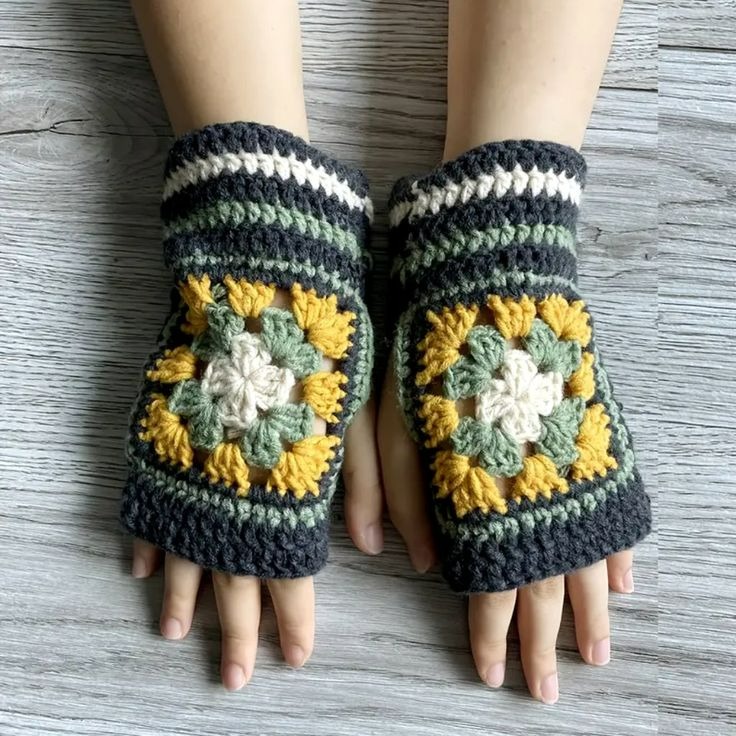
Choose Colors and Textures
Select yarns that reflect your style or the style of the person you’re knitting for. Play with colors and textures. Combine variegated yarn with solid hues for a pop. Or, use a chunky yarn for a bold, cozy look.
Experiment with Stitch Patterns
Mix up the basic knit and purl with lace, bobbles, or cables. Try different stitch patterns on the cuff or back of the hand. This adds visual interest and a touch of complexity.
Knit in Some Flair
Consider adding small details like beads or buttons for decoration. You can sew these on after the knitting is complete. They’re great for adding flair.
Personalize with Embroidery
Once your gloves are knit, personalize them with some embroidery. Stitch initials, a small motif, or a favorite quote onto them. Use a contrasting yarn color for the embroidery to stand out.
Make Matched Sets
Create a coordinated look with matching hats, scarves, or even sweaters. This is especially thoughtful for gift knitting. It shows extra care and attention to detail.
Adapt the Length
Adjust the length of the gloves to suit the wearer or the season. Longer gloves are warmer and can make more of a fashion statement. Shorter lengths might be practical for indoor use or milder weather.
By incorporating these touches, your fingerless gloves will go from basic to bespoke. Remember, the best customizations are the ones that make the gloves feel special to you or the recipient. Happy customizing!
Common Mistakes and Troubleshooting Tips
Knitting fingerless gloves can sometimes lead to errors, especially for beginners. Here are common mistakes and how to fix them:
Dropping Stitches
If you drop a stitch, don’t panic. Use a crochet hook to pull the loop back through to the right height. Then, place it back onto your needle.
Twisted Stitches
Check stitches are not twisted around the needle when joining in the round. If they are, simply untangle before proceeding.
Inconsistent Tension
Inconsistent tension can make your knitting look uneven. Practice maintaining even pressure on the yarn, and use stitch markers to help.
Thumb Gusset Issues
Incorrect thumb gusset increases can ruin the fit. Count stitches carefully and follow the pattern’s increase instructions closely.
Binding Off Too Tightly
A tight bind-off can restrict the glove’s opening. To avoid this, bind off loosely or use a larger needle for the final row.
Mismatched Glove Sizes
Sometimes gloves end up different sizes. Measure as you go and take notes to ensure consistency between the pair.
When you encounter mistakes, stay calm. Most errors are fixable with patience and practice. Keep at it, and your skills will improve over time.
Advanced Techniques for Experienced Knitters
Once you’ve got the hang of basic techniques, expand your skill set with advanced methods. Advanced knitters can try new stitch types and knitting styles to create intricate fingerless gloves. Here are some techniques to master:
Try Continental Knitting
This style involves holding the yarn in your left hand. It can make knitting faster and is excellent for colorwork.
Perfect Your Colorwork
Knit with multiple colors for striking designs. Techniques like Fair Isle or intarsia add visual appeal.
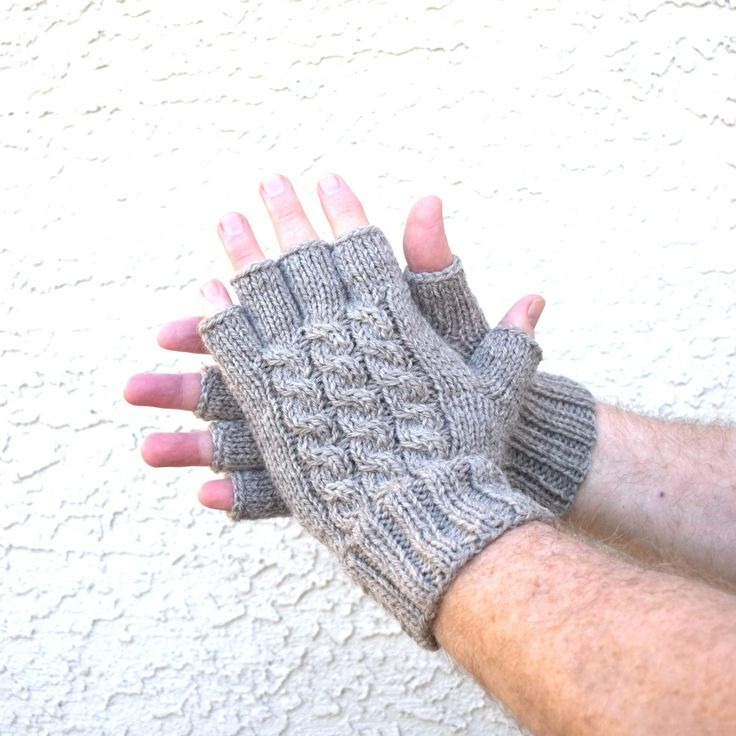
Practice Cable Knits
Cables add texture and depth to your gloves. Use a cable needle to twist your stitches effectively.
Experiment with Lace Patterns
Incorporate lace patterns for a delicate look. Yarn overs and k2tog (knit two together) are key moves.
Master Double Knitting
Double knitting creates a two-layer fabric. It’s great for extra warm gloves or reversible designs.
Use Advanced Shaping Techniques
For a tailored fit, try various increases and decreases. They shape the glove for a professional finish.
Learning these advanced techniques will make your fingerless gloves stand out. Take time to practice and don’t shy away from challenges. Your efforts will show in your stunning, unique knits.
The Future of Knitting: Trends and Innovations in Fingerless Gloves
As we look towards the future, knitting continues to evolve. Here’s what to expect in fingerless gloves knitting:
Sustainable and Eco-Friendly Yarns
More knitters are choosing yarns that are kind to the planet. Look for recycled fibers or organic options.
Smart Yarns with Technological Integration
Yarns might come with conductive materials. These can interact with touchscreens, perfect for fingerless gloves.
Revival of Traditional Techniques
Ancient techniques will make a comeback. This includes complex lacework and ethnic patterns, giving gloves a historic touch.
Digital Knitting Patterns and Communities
Patterns will often be digital. Knitting communities will thrive online, sharing tips and tricks freely.
3D Printing and Knitting Combination
Some might combine 3D printing with traditional knitting. This creates gloves with sturdy parts where needed.
Customization with Apps
There may be apps to help you modify patterns. Adjust size, style, or difficulty level with ease.
Use of Mixed Media
Expect to see materials mixed. Metals, leather, or plastic can accentuate the hand-knitted fabric.
Advanced Stitch Dictionaries
Books with a variety of stitches will be readily available. They will inspire knitters to try new designs.
Interactive Learning Platforms
Learning to knit will be easier with interactive guides. Videos and step-by-step tutorials will become more standard.
Fashionable and Functional Designs
Designs will not just be about warmth; they will make fashion statements too. Expect gloves to feature prominently in designer lines.
Knitting is a craft with endless possibilities. By staying informed about these trends, you can keep your knitting practice modern and exciting. Happy knitting!