Introduction to Fingerless Gloves Knitting
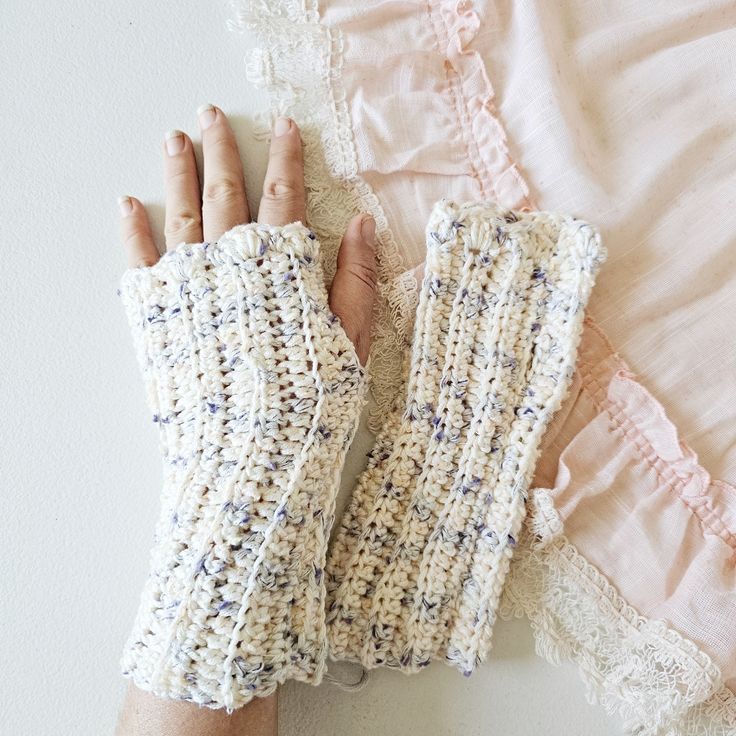
Knitting fingerless gloves is a fun and practical project. It’s perfect for beginners looking to broaden their skills. This type of knitting combines utility and style, offering warmth while keeping fingers free. Whether for typing, texting, or crafting, they provide the right balance of comfort and dexterity.
In this guide, we will walk through the steps to create your own fingerless gloves knitting pattern. We’ll start with the basics, like choosing materials and learning stitches. Then, we’ll move on to the step-by-step knitting process. As you follow along, you’ll also find tips to customize your gloves and make them truly your own. Plus, we’ll go over how to troubleshoot any issues that may arise during your knitting journey.
Ready to start? Get your needles out, because by the end of this guide, you’ll have crafted a cozy pair of fingerless gloves tailored to your taste!
Essential Materials and Tools
To begin knitting your fingerless gloves, you’ll need to gather some essential materials and tools. First, select the needles. Circular or double-pointed needles are best for this project. The size can vary, but sizes 4 to 8 are commonly used for fingerless gloves. Next, choose your yarn. Look for yarn that is comfortable, durable, and has the right weight for your desired thickness. Stitch markers and a tapestry needle will also come in handy. Stitch markers help keep track of patterns and rounds, while the tapestry needle is for weaving in ends later.
Ensure you have a pair of scissors and a measuring tape to keep your work precise. If you are following a fingerless gloves knitting pattern, the pattern will specify the exact materials and tools required, so be sure to check that out before starting. With these tools in hand, you’ll be ready to dive into the rewarding world of knitting fingerless gloves.
Choosing the Right Yarn
Selecting the right yarn is critical for your fingerless gloves knitting pattern. The yarn you choose will determine the comfort, warmth, and durability of your gloves. Aim for a yarn that feels comfortable against the skin since your gloves will be in direct contact with your hands. Wool or wool blends are popular choices for their warmth and elasticity. For those sensitive to wool, cotton or acrylic yarns can be great alternatives offering both softness and breathability.
When considering yarn weight, go for a medium thickness. Too thick, and your gloves might feel bulky. Too thin, and they may not be warm enough. Worsted or DK yarns are typically a good match for fingerless gloves. Also, take into account the color and texture of the yarn. Do you want a solid color, or are you looking to add a pattern or vibrancy with variegated or speckled yarn?
Lastly, check the yarn label for care instructions. You’ll want yarn that’s easy to wash and maintain. Some yarns can be machine washed, whereas others require more delicate handling. Always keeping care in mind makes your gloves not just a joy to wear but also a breeze to care for.
Understanding Basic Knitting Stitches
Before diving into your fingerless gloves knitting pattern, mastering a few basic stitches is key. These stitches form the foundation of most knitting projects. Let’s break them down.
The Knit Stitch (K)
The knit stitch is the most basic and commonly used stitch in knitting. With the yarn in back, insert the right needle from left to right through the loop on the left needle. Wrap the yarn around the right needle and pull it through to make a new loop. Slip the old loop off the left needle, and the knit stitch is complete.
The Purl Stitch (P)
The purl stitch is the knit stitch’s reverse and just as vital. With the yarn in front, insert the right needle from right to left through the loop. Wrap the yarn around the needle, then pull the new loop back through. Slide the old loop off, and you’ve made a purl stitch.
Ribbing (K1, P1)
Ribbing creates a stretchy fabric ideal for fingerless gloves cuffs. Alternate between one knit stitch and one purl stitch (K1, P1) to form a ribbed pattern. This provides elasticity and ensures your gloves fit snugly around the wrist.
Increasing (INC)
You might need to increase the number of stitches for shaping. To do this, knit into the front and then the back of the same stitch. This technique creates two stitches from one and helps in areas like the thumb gusset.
Decreasing (DEC)
The opposite of increasing is to decrease. This reduces the stitch count and is used to taper parts of the glove. Knit two stitches together (K2tog) for a standard decrease that leans to the right.
Learning these stitches and techniques will give you the skills needed for your fingerless gloves knitting pattern. Practice them until you feel confident, and remember, the more familiar you are with these stitches, the easier it will be to follow the pattern.
Step-by-Step Guide to Knitting Fingerless Gloves
Knitting fingerless gloves is easy with the right steps. Follow this guide to make your own pair.
- Cast On Stitches: Start by casting on the number of stitches your fingerless gloves knitting pattern requires. Use the long-tail method for stretch.
- Work the Cuff: Begin ribbing for the cuff. Alternate one knit stitch (K) and one purl stitch (P) for several rounds.
- Knit the Main Body: Continue with knit stitches to create the glove’s length. Stop at the thumb hole placement.
- Create the Thumb Opening: For a simple thumb hole, bind off a few stitches. On the next round, cast them on again.
- Resume Knitting: Keep knitting until you reach the glove’s desired height.
- Shape the Knuckles: If needed, decrease stitches at the top for a better fit.
- Cast Off: Bind off all stitches loosely. Make sure the glove’s edge is not too tight.
- Repeat for Glove Two: Ensure your second glove matches the first in size and shape.
- Weave in Ends: Use a tapestry needle to weave in loose yarn ends.
Throughout these steps, refer to your specific fingerless gloves knitting pattern. It will guide your stitch count and glove dimensions. Use stitch markers to help keep your place. And remember, practice makes perfect. If this is your first try, it’s okay to make mistakes. Learn and try again. Before you know it, you’ll have a cozy self-made pair of fingerless gloves!
Tips for Customizing Your Fingerless Gloves
Making your own fingerless gloves is not only practical but also a chance to unleash your creativity. Here are several tips that can help you tailor your fingerless gloves knitting pattern to your personal taste:
- Choose Your Colors: Pick colors that reflect your style. Try bold colors for a statement or neutral tones for versatility.
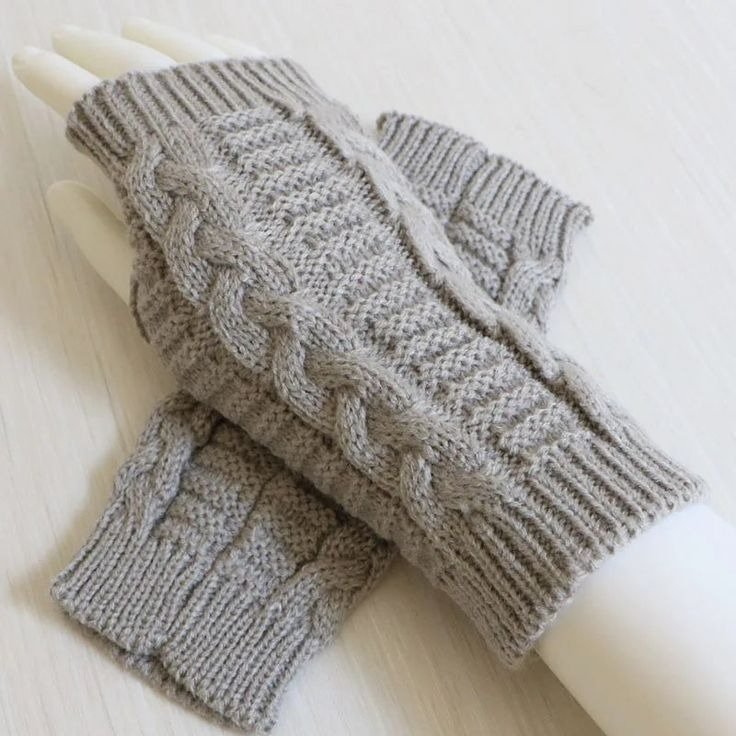
- Experiment with Yarn Textures: Mix and match different yarn textures. A cable knit pattern with chunky yarn adds a rustic touch.
- Adjust the Length: Decide on the length of your gloves. Short cuffs can be stylish, while longer ones offer extra warmth.
- Incorporate Patterns: Add stripes, fair isle, or lace patterns to give your gloves a unique look.
- Personalize with Embellishments: Consider adding buttons, beads, or embroidery for an individualized flair. Small details can make a big difference.
- Make Adjustments for Fit: If you have slender or wide hands, adjust the number of stitches you cast on. Ensure the gloves fit comfortably.
- Try Different Stitches: Beyond the basic knit and purl, try using basket weave or herringbone stitches for texture.
- Create Matching Accessories: Knit a matching hat, scarf, or even a sweater to go with your gloves. A coordinated set looks chic and put-together.
By applying these tips, your fingerless gloves will not just be a practical item but also a reflection of your personal style and knitting abilities. Don’t be afraid to try new things; customization is all about making something unique that you’re proud to wear or give as a gift.
Finishing Touches: Binding Off and Weaving in Ends
Once you have completed the main knitting part of your fingerless gloves, it’s time to add the finishing touches. The final steps are crucial for a polished look. Here’s how to neatly bind off and weave in ends for your fingerless gloves knitting pattern.
- Binding Off: This is the process of securely closing your stitches. Make sure to bind off loosely, especially at the edge of the gloves, so that it doesn’t constrict movement. To bind off, knit two stitches normally, then lift the first stitch over the second and let it drop off. Continue this until one stitch remains. Cut the yarn, leaving a tail, and pull it through the last stitch.
- Weaving in Ends: Don’t let those loose strands ruin your hard work! Use a tapestry needle to weave in the yarn ends into the inside of the glove. This not only hides the ends but also secures them. Thread the yarn end through the needle, and weave it back and forth through the inside stitches. Trim any excess yarn after weaving.
By binding off loosely and carefully weaving in ends, your fingerless gloves will look seamless and professional. Take your time with these final steps, as they make all the difference in the appearance and durability of your gloves. After these, your fingerless gloves knitting pattern project is complete, and you’re ready to enjoy or gift your crafted creation.
Troubleshooting Common Knitting Problems
Even the most skilled knitters encounter issues now and then. Recognizing and fixing common knitting problems is part of the learning process. Let’s look at some typical issues you might face while knitting fingerless gloves and how to solve them.
- Dropped Stitches: This happens when a stitch falls off the needle. To fix, use a crochet hook to pull the loop back through the stitches beneath it until it’s back in place.
- Twisted Stitches: A stitch is twisted when it’s not seated correctly on the needle. Simply insert your needle into the stitch from the correct direction and knit or purl as usual.
- Inconsistent Tension: Uneven stitches can make your work look messy. Practice maintaining an even tension, and remember not to pull the yarn too tight or leave it too loose.
- Accidental Increases: Sometimes, extra stitches appear. If you catch them early, just knit two stitches together (K2tog) to get back on track.
- Holes in the Fabric: These can occur from yarn-overs or missed stitches. If recent, undo stitches to the hole and re-knit correctly. For older holes, stitch them closed with the same yarn.
- Thumb Hole Challenges: If the thumb hole isn’t sized right, going back and adjusting the bind-off and cast-on counts can help achieve the desired fit.
- Binding Off Too Tightly: A tight edge can make gloves uncomfortable. Bind off loosely, or use a larger needle to cast off for more give.
- Finishing Inconsistencies: If your weaving in ends isn’t neat, it can show. Take your time with this step and ensure the inside looks as good as the outside.
With these troubleshooting tips, you’ll be well-equipped to handle any issues that come your way in knitting fingerless gloves. Remember, mistakes are just opportunities to become a better knitter! Don’t get discouraged; with practice, your fingerless gloves knitting pattern will lead to fabulous results.