Introduction to Crochet Mittens
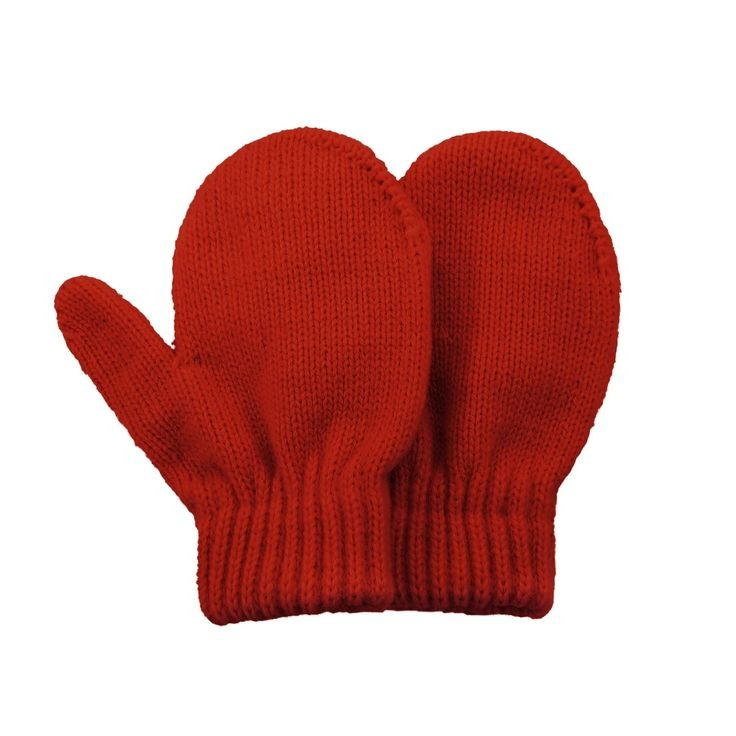
Crochet mittens are a cozy and fun project. They keep hands warm and offer a personal touch to winter wear. If you’re new to crocheting or looking to expand your skills, creating mittens can be an excellent choice. They are smaller than many other projects, which makes them a perfect venture for those looking to finish a piece relatively quickly. The beauty of a crochet mitten pattern is that it allows for a lot of customization. From the yarn color to the texture of the stitches, every pair of mittens can be unique.
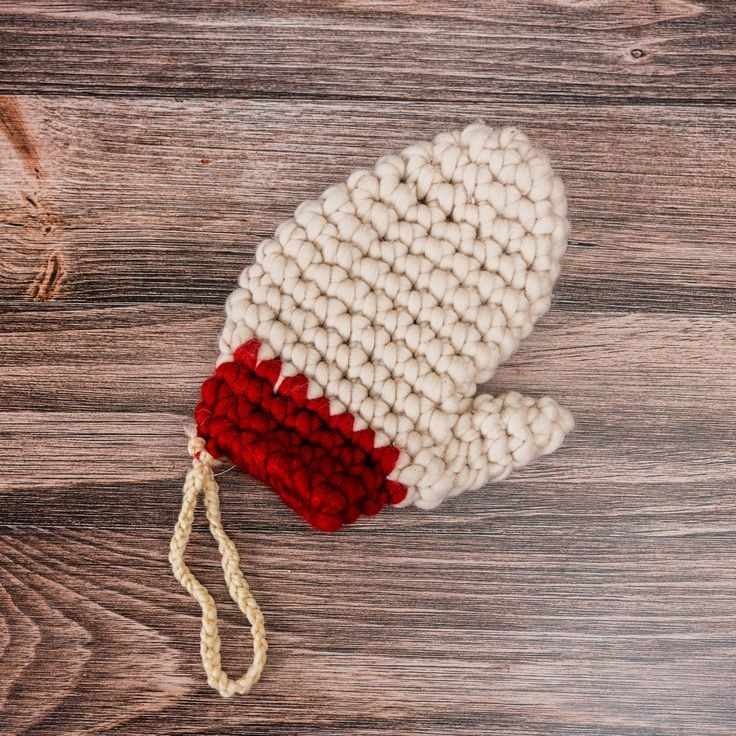
Crocheting mittens involves creating a fabric by interlocking loops of yarn with a crochet hook. The resulting fabric is stretchy, warm, and versatile. It’s no wonder that handmade mittens have been loved for generations. Whether you live in a cold climate or are simply preparing for winter, crochet mittens are practical and heartfelt gifts for friends and family.
To start on this gratifying project, you’ll need to gather some essential materials and understand basic stitches. Once you master the fundamental aspects, you can explore various styles and patterns to create your signature mittens. Get ready to dive into the world of crochet mittens and experience the joy of crafting something both beautiful and functional.
Essential Materials and Tools for Crochet Mittens
To embark on your crochet mitten pattern journey, gathering the right tools and materials is crucial. Here’s what you’ll need:
Yarn
Choose a yarn that feels soft, yet durable. Wool or acrylic blends are ideal for warmth and easy care.
Crochet Hooks
Pick hooks that correspond to your yarn weight. For most mittens, sizes from 3.5 mm to 5.5 mm are common.
Stitch Markers
These are lifesavers for keeping your place, particularly when creating thumbholes or intricate patterns.
Scissors
A sharp pair of scissors is vital for snipping yarn ends and making clean cuts.
Yarn Needle
You’ll need this to weave in ends and stitch together mitten parts if necessary.
Pattern
Have your crochet mitten pattern handy for guidance. It’ll provide stitch counts and row details.
Sealing in these essentials sets a solid foundation for your crochet mitten creation. Remember, the better the tools and materials, the easier your crocheting experience will be. Now, let’s get those hands warm with your very own handmade mittens!
Basic Crochet Stitches Used in Mitten Patterns
Learning basic crochet stitches is key for making mittens. Here are stitches you’ll often use:
Chain Stitch (ch)
The start of most mitten patterns. You make a series of loops that form a chain. Very simple.
Single Crochet (sc)
This is a basic stitch used for creating dense, warm fabric. It’s ideal for mitten cuffs.
Double Crochet (dc)
Double crochet gives height to your work. It makes the mitten grow faster and adds texture.
Slip Stitch (sl st)
Use slip stitches to join rounds or to create a neat edge finish for your mittens.
Half Double Crochet (hdc)
Half double crochet offers warmth and stretch. Perfect for a snug, comfortable fit.
Practice these stitches before starting your crochet mitten pattern. They form the foundation of most designs. As you get comfortable, your mittens will take shape and style.
Step-by-Step Guide to Crocheting Your First Pair of Mittens
Now that you’re familiar with the essential materials and basic stitches, it’s time to crochet your first pair of mittens. Follow this simple step-by-step guide to create a cozy pair. Keep your crochet mitten pattern and tools within reach and let’s start hooking those stitches!
Step 1: Start with a Slip Knot
Make a loop with your yarn, slide your hook through, and secure it. This is your starting point.
Step 2: Create the Cuff
Work a series of chain stitches as per your pattern. Join to form a circle and begin single crochet (sc) stitches around to create the cuff.
Step 3: Work the Hand of the Mitten
Continue with single crochet or switch to half double crochet (hdc) as instructed. Keep crocheting in rounds until you reach the base of the thumb.
Step 4: Form the Thumb Opening
Follow your crochet mitten pattern to create the thumbhole. Usually, this involves skipping stitches or creating a chain space. Use stitch markers to mark this spot.
Step 5: Shape the Mitten Top
Once past the thumb area, continue the rounds. Decrease stitches at intervals to narrow the top of the mitten as you go.
Step 6: Finish the Thumb
Go back to the thumb opening. Pick up stitches around the hole and crochet the thumb in rounds until it reaches the desired length. Then, fasten off.
Step 7: Weave in Ends
Use your yarn needle to weave in any loose ends. This will give your mittens a polished look.
Step 8: Second Mitten
Repeat the steps for the second mitten. Make sure it mirrors the first one for a matching pair.
Celebrate the completion of your first crochet mitten pattern project! Now your hands will stay warm with a personal touch from your own craft.
Variations on the Classic Mitten Pattern
After mastering the basic crochet mitten pattern, you may want to try some variations. Mix things up and add a personal touch. Here are a few ideas to inspire your next project:
Experimenting with Yarn Colors and Textures
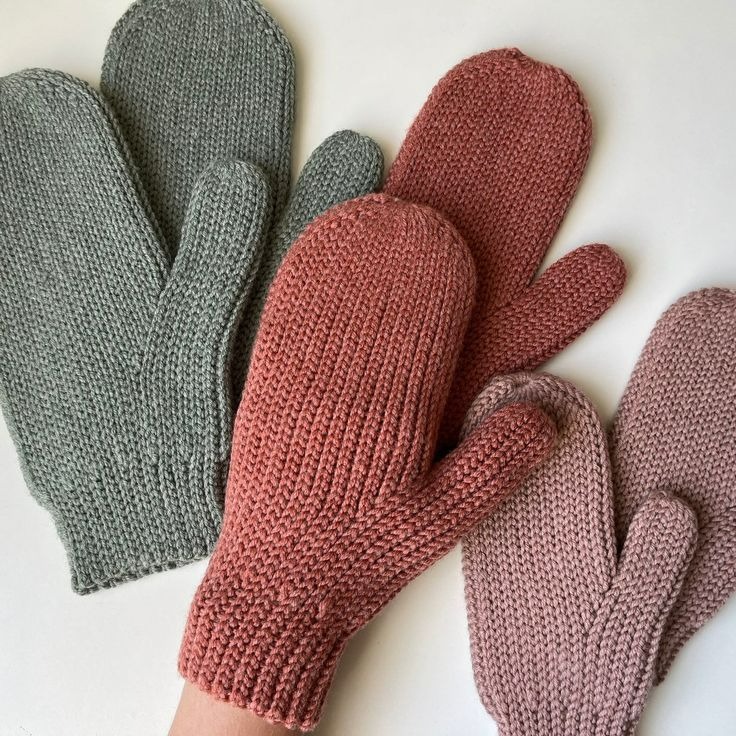
Choose bold yarn colors to make a statement. Or use variegated yarn for a unique multicolored effect. You can also play with textures. Think about using chunky yarns or adding a fuzzy lining. These changes can make your mittens stand out.
Incorporating Different Crochet Stitches
You have learned the basic stitches, but there’s more to explore. Try incorporating shells, bobbles, or cable stitches to add depth to the design. This will also give you a chance to practice new crochet techniques.
Adding Ribbing or Cuffs
For a snugger fit, you can add ribbing to your mitten cuffs. Use front and back post double crochet for a stretchy ribbed look. A longer cuff can be folded over for a classic style.
Thumbless Mittens for Beginners
If you’re a beginner, you might find thumb holes challenging. Start with a simple thumbless mitten design. These are also great for younger children who may find gloves restrictive.
Fingerless Mittens and Convertible Mittens
Fingerless mittens are practical for those who need to use their fingers while keeping warm. Convertible mittens feature a flip-top that can be pulled back to free your fingers when necessary.
Embrace these variations to add diversity to your crochet projects. With each new pattern, your skills will grow. Your handmade crochet mittens will not only be cozy but will also showcase your creativity.
Adding Decorative Elements to Your Mittens
After mastering your crochet mitten pattern, adding personal flair makes them even more special. Here are some ideas:
Appliqués and Motifs
Stitch on a delicate flower or a playful animal motif. These small add-ons can transform simple mittens into unique pieces.
Embroidery Details
Use embroidery to add initials or intricate designs. Pick a contrasting yarn color for this delicate work.
Exquisite Edging
Add lace or scalloped edges at the cuffs. A picot or shell edge stitch can make a fancy finishing touch.
Colorwork and Stripes
Create multicolored patterns or stripes. Plan this in your crochet mitten pattern to align with stitch changes.
Beads and Sequins
For a bit of sparkle, sew on beads or sequins. Do this at the end, once the mitten is finished.
Remember to consider the extra materials you’ll need for decoration. And always keep your intended mitten wearer in mind. With these embellishments, your mittens will stand out and make charming gifts or personal treasures.
Tips for Sizing and Fitting Crochet Mittens
Creating the perfect fit for your crochet mittens is essential for comfort and function. Follow these tips to achieve well-fitting mittens:
Choose the Right Yarn and Hook
Select a yarn that matches your crochet mitten pattern. Ensure your hook size works with your yarn. This affects the final size.
Check Gauge
Before starting, crochet a small sample. Measure stitches per inch. Match this to the pattern gauge. Adjust hook size if needed.
Measure Hand Size
Use a soft tape to measure the hand. Record length and width. This guides mitten size.
Consider Stretch
Crochet fabric stretches. Choose a size slightly smaller than actual measurements. It should comfortably fit.
Try On As You Go
Slip the mitten on the hand at different stages. This ensures a good fit throughout the process.
Adjust Pattern When Needed
If you have more slender or wider hands, alter the stitch count. Increase or decrease as required.
Remember Thumb Size
Include the thumb in sizing. Ensure the hole and thumb tube fit well.
Allowance for Lining
If adding a lining, allow extra space inside. A lining can make mittens snugger.
With these tips, your handmade crochet mittens will not just be warm. They will fit perfectly and feel custom-made for every wearer.
Maintaining and Caring for Your Crochet Mittens
Taking care of your crochet mittens is essential to keep them looking great for a long time. Here are some care tips:
Washing Your Crochet Mittens
Hand wash your mittens gently with mild detergent. Avoid wringing them out.
Drying Them Properly
Lay the mittens flat on a towel to dry. Keep them away from direct heat sources.
Storing Your Mittens
Store your mittens in a cool, dry place. Use a fabric bag to avoid dust accumulation.
Fixing Loose Threads or Damage
Snip any loose threads with scissors. If there’s damage, use a yarn needle to carefully weave and secure the ends.
Pilling Prevention
Use a fabric shaver to remove pilling. Do this carefully to not damage the crochet fabric.
With these steps, your crochet mitten pattern creations can last through many cold seasons. Enjoy wearing them year after year with proper care!