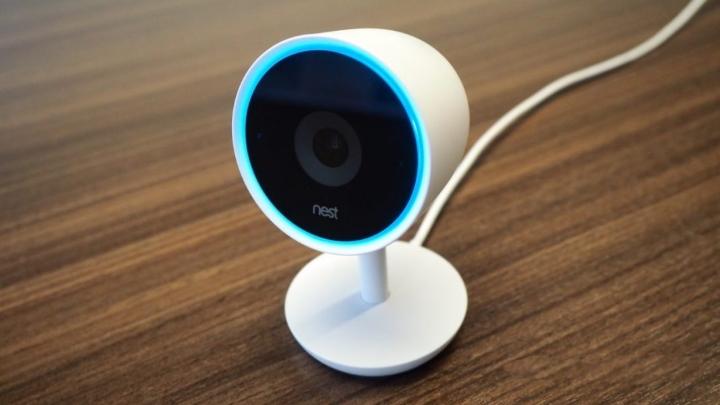
When troubleshooting your Nest camera or preparing it for a new owner, a factory reset may be necessary. This process restores the camera to its original settings, erasing any custom preferences and unlinking it from your Nest account. This article will guide you through the process.
Understanding When to Factory Reset Your Nest Camera
Performing a factory reset on your Nest camera is a significant step that can help resolve various issues. However, it’s essential to understand when such an action is appropriate, as it will erase all your customized settings and remove the device from your Nest account. In this section, we’ll explore the common scenarios that might necessitate a factory reset and what to consider before proceeding.
Resolving Technical Glitches
If your Nest camera is experiencing persistent technical problems that aren’t solved by basic troubleshooting steps—such as power cycling the camera, checking Wi-Fi connectivity, or updating the software—a factory reset might be necessary. Issues that may warrant a reset include, but are not limited to, unresponsive cameras, frequent disconnections, or failure to update or sync settings.
Preparing for New Ownership
A factory reset is an essential step when preparing your Nest camera for new ownership. This process will ensure that your personal information, such as your Nest account details and any saved video history, is completely erased from the device. The new owner will then be able to set up the camera from scratch, linking it to their own Nest account.
Restoring Default Settings
Sometimes, you might simply want to start fresh with your Nest camera’s settings. Maybe you’ve made numerous changes to the configuration and wish to return to the default settings to reconfigure the device without previous customizations influencing your new setup.
After an Unsuccessful Update
Occasionally, a software update may not install correctly, which might cause your Nest camera to malfunction. If repeated attempts to update the camera software fail, a factory reset can help by clearing the problematic update and allowing you to attempt a fresh installation.
Selling or Gifting the Camera
Whether you’re upgrading to a newer model or passing your Nest camera on to someone else, a factory reset ensures that the next user has a clean slate. This is crucial for maintaining your security and privacy, as it prevents the new user from accessing your video history or account information.
Considerations Before Resetting
Before you initiate a factory reset, consider the following:
- Ensure you’ve attempted all other troubleshooting steps provided by Nest support.
- Remember that a reset will delete all your custom configurations and preferences.
- Be aware that you will need to re-add the camera to your Nest account if you plan to continue using it.
- Check that you have your Nest account credentials handy for setting up the camera again.
Understanding when to factory reset your Nest camera is crucial for effective troubleshooting and maintaining your device’s longevity. It’s a powerful tool that can resolve many issues, but it should be used judiciously to avoid unnecessary inconvenience.
The Factory Reset Process for Nest Cameras
A factory reset is a crucial troubleshooting step for resolving issues with your Nest camera or for preparing the device for a new user. It reverts the camera to its original state, removing all personal settings and unlinking it from your account. Below, you’ll find guidance on how to perform a factory reset for your Nest camera.
Identifying Your Nest Camera Model
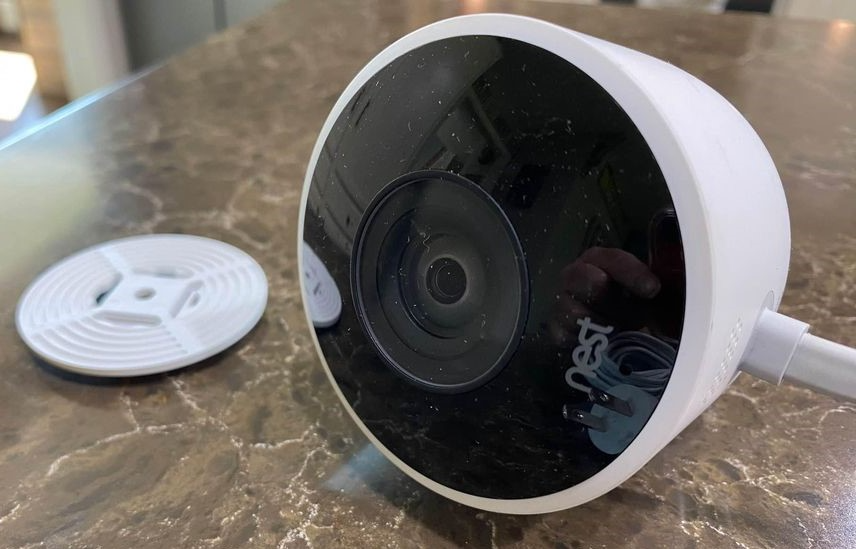
Before you start the reset process, it’s important to correctly identify your Nest camera model. Each model may have a slightly different reset procedure, and using the correct method ensures that you don’t damage the device. Nest offers a range of cameras, including the Nest Cam Indoor, Nest Cam Outdoor, Nest Cam IQ Indoor, and Nest Cam IQ Outdoor, among others. Refer to your device’s user manual or the Nest support website to confirm your model and locate the reset instructions specific to it.
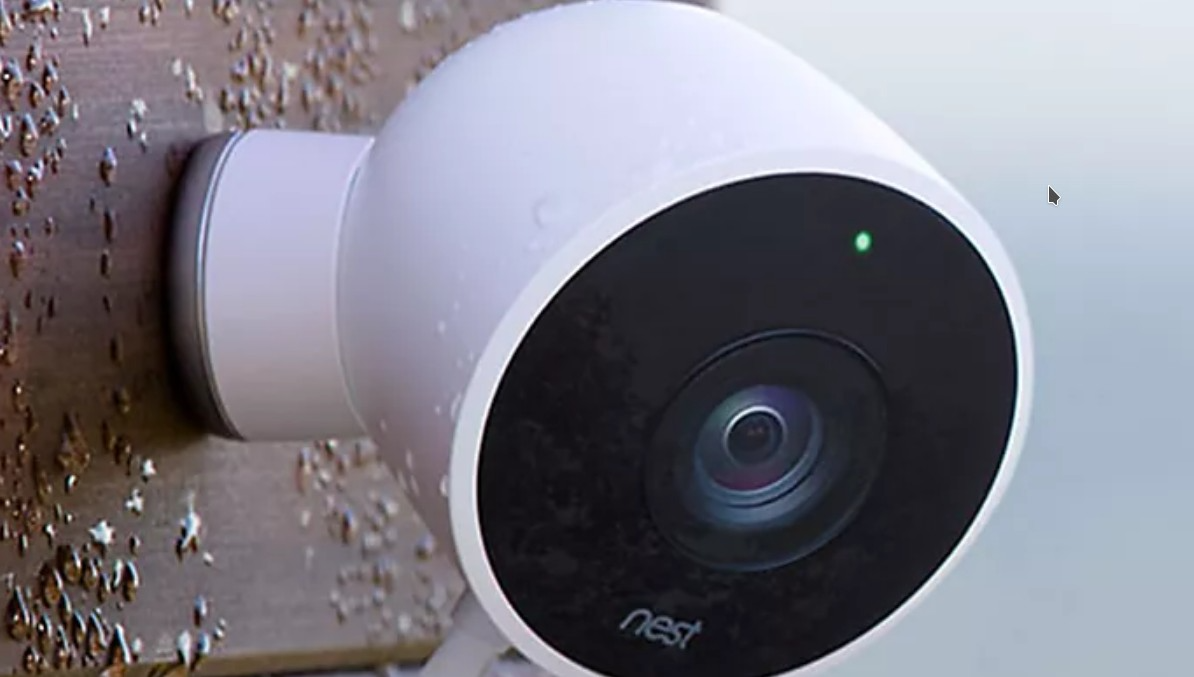
Preparing for the Reset
Once you’ve identified your Nest camera model and located the specific reset instructions, you should prepare your camera for the reset process. Start by ensuring that the camera is plugged in and receiving power. If the camera is mounted, you may need to remove it from its mounting location to access the reset button. Be sure to have a clip or a small pin-like tool on hand, as most reset buttons on Nest cameras are recessed to prevent accidental resets.
Executing the Factory Reset
The reset process generally involves pressing and holding the reset button for a specific amount of time until the camera’s LED light indicates the reset is in progress. For example, on some Nest camera models, you will need to press and hold the reset button until the light turns off, confirming that the reset has started. On others, you may wait for the light to blink, indicating the reset sequence has been initiated. It is imperative to follow the model-specific instructions carefully to ensure the reset is successful.
After initiating the reset, wait for the camera to restart. This process can take several minutes, during which time the camera may restart multiple times. When the light indicator shows a steady glow or blinks in a pattern that signifies the reset is complete, the camera is ready to be set up as new.
Post-Reset Setup
After the factory reset, you will need to reconfigure your Nest camera settings. To do this, you’ll have to add the camera back to your Nest account using the Nest app. Follow the in-app instructions to connect the camera to your Wi-Fi network, give it a name, and adjust settings such as video quality, notifications, and activity zones.
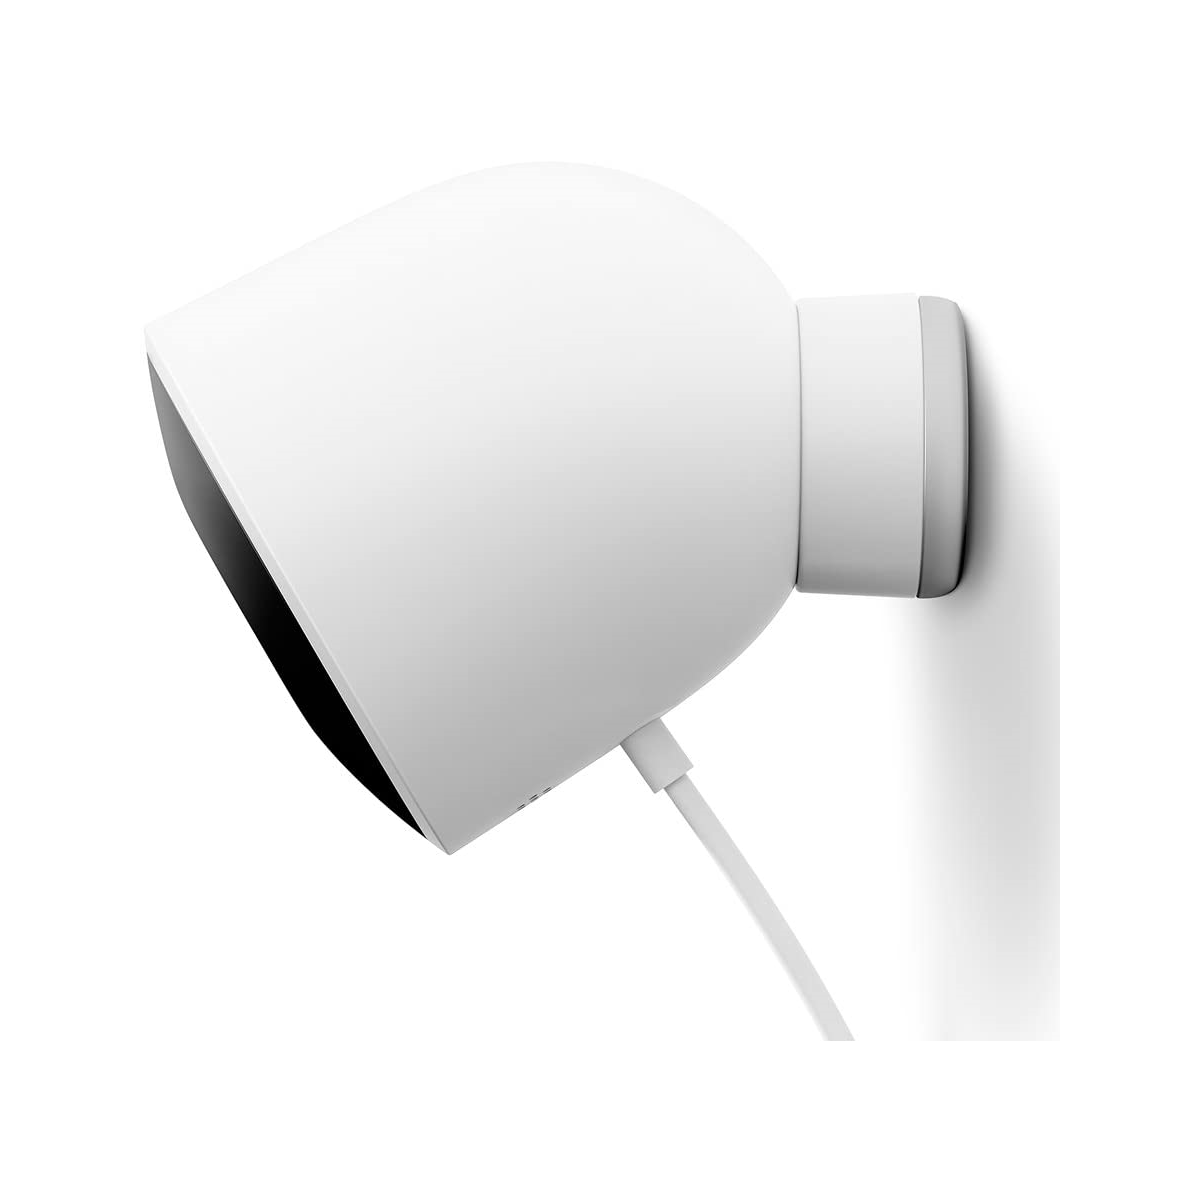
Considerations After Resetting
It’s important to note that once the camera is reset, all previous data, including any video history, will be lost unless you have a Nest Aware subscription. In the case of Nest Aware subscribers, video history will be retained in the cloud, associated with your account, and accessible upon re-adding the camera to the app.
Understanding the factory reset process for your specific Nest camera model is essential in ensuring that the procedure is executed correctly and without complications. This clear, step-by-step approach can help restore your camera’s functionality or prepare it for a new user, maintaining the security and performance expected from your Nest device.
Conclusion
A factory reset can be a useful solution for resolving issues for a new user. Before integrating a used Pixel 3 XL with your smart home, ensure your security is up to date by performing a factory reset on your Nest camera for a fresh start. By following the correct steps, you can ensure a smooth and secure reset process.
